Skyway Angular Video Calling: The Ultimate Signals-First Guide
Skyway Angular video calling represents the next level of real-time communication for modern web applications. Consequently, developers can now build lightning-fast video interfaces using the power of Angular 21. In this guide, you will learn how to master this integration with ease.
Table of Contents
- Why Choose Skyway Angular Video Calling?
- Prerequisites for WebRTC Integration
- Step-by-Step Guide to Skyway Angular Video Calling Setup
- Building the Skyway Angular Video Calling UI
- Performance Tips for Real-Time Apps
- FAQ
Why Choose Skyway Angular Video Calling?
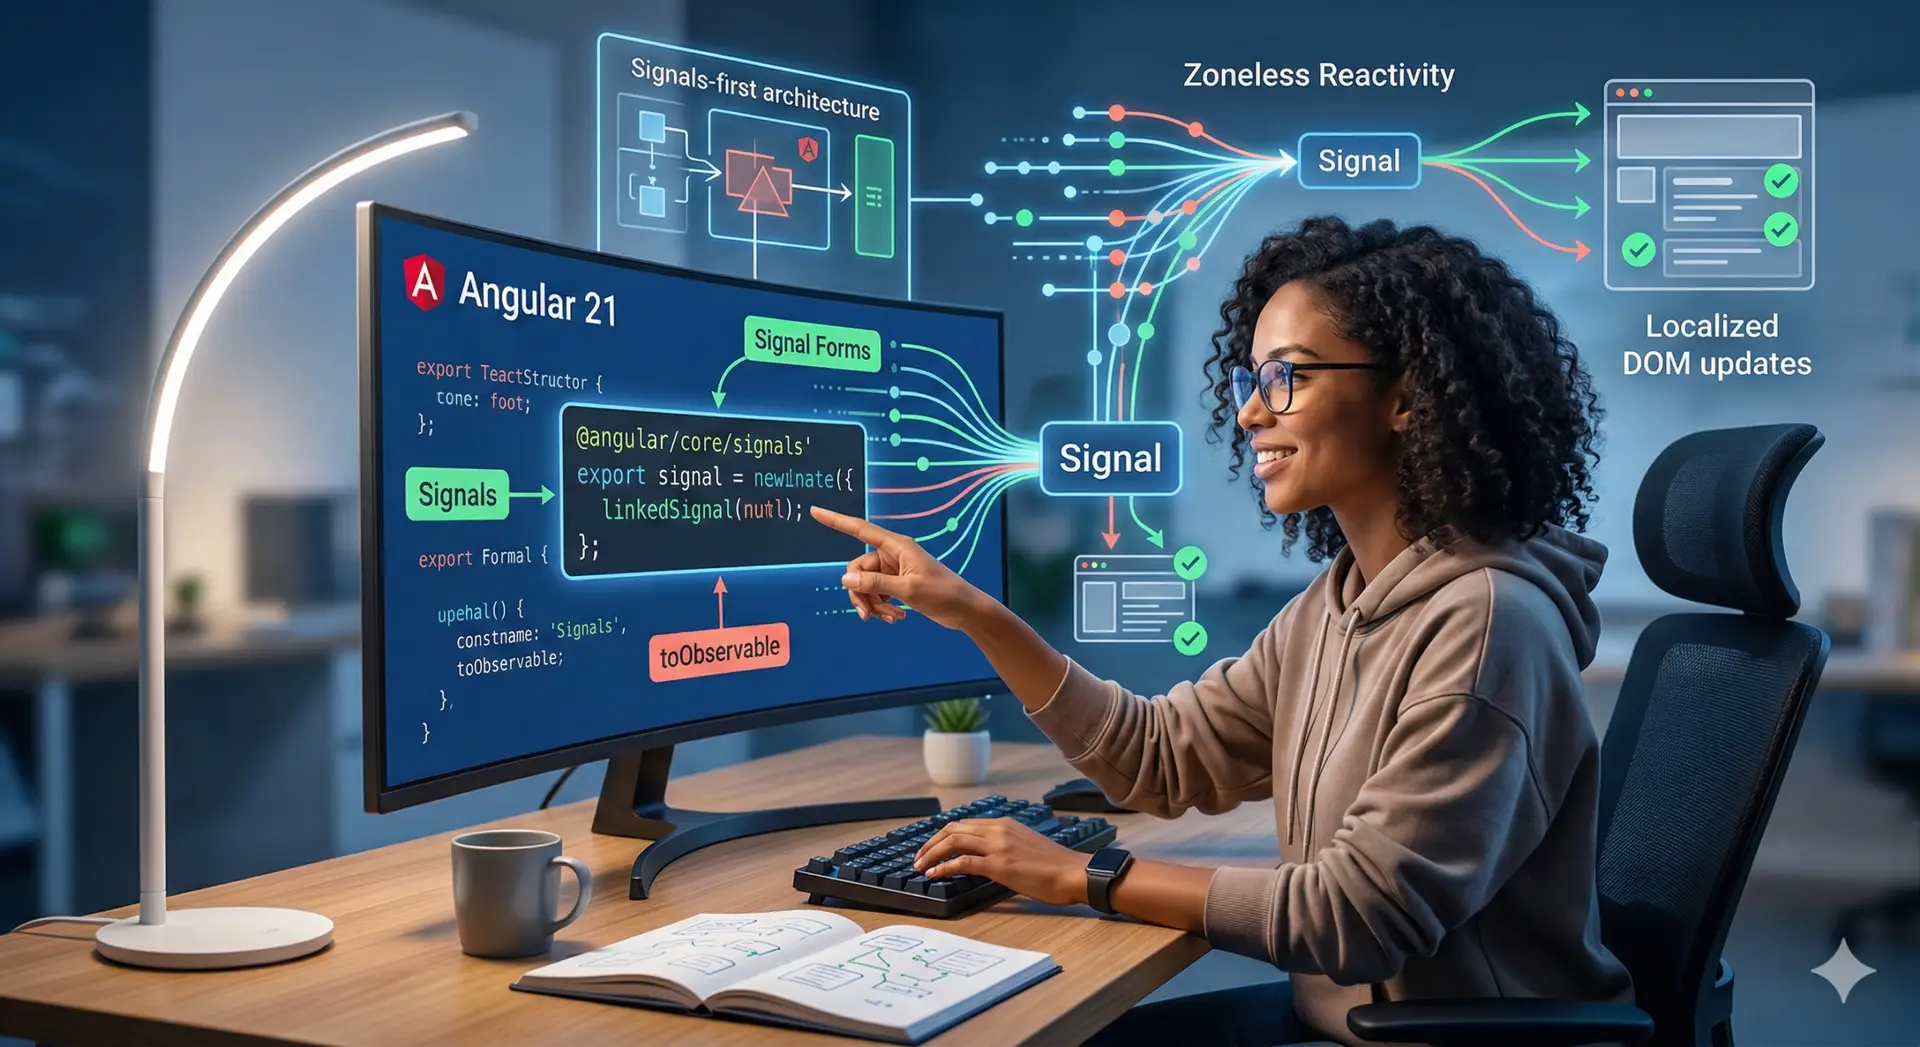
Angular 21 introduces a Signals-first paradigm that fundamentally changes how we handle data. Therefore, we no longer need to rely on the overhead of zone.js for every small update. This is vital for video apps where frame rates and latency matter most.
Furthermore, Signals provide a clean, reactive way to manage peer connections. When a user joins or leaves, the UI responds instantly without unnecessary re-renders. You can explore the basics in our Angular 21 Signals Complete Guide.
Prerequisites for WebRTC Integration
Before you dive in, you must register for a Skyway API key via their developer portal. Additionally, ensure your local environment uses the latest Node.js version. Remember that WebRTC APIs usually require an HTTPS connection for camera access.
Initially, generate a fresh Angular project using the standalone component flag. This streamlined structure perfectly complements the Skyway video calling implementation. It keeps your bundle size small and your logic modular.
Step-by-Step Guide to Skyway Angular Video Calling Setup
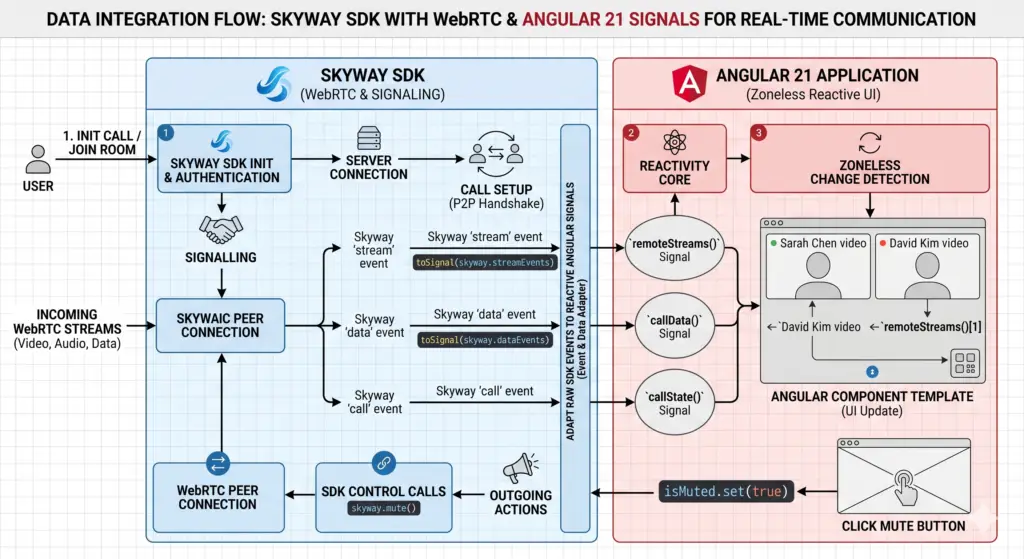
First, install the SDK by running npm install @skyway-sdk/room. Afterward, we will create a dedicated service to manage the signaling logic. This approach ensures your code remains organized and testable..
import { Injectable, signal } from '@angular/core';
import { SkyWayContext, SkyWayRoom, SkyWayStreamFactory, LocalVideoStream } from '@skyway-sdk/room';

@Injectable({ providedIn: 'root' })
export class VideoCallService {
  // We use signals to track streams and connection status
  public localStream = signal<LocalVideoStream | null>(null);
  public remoteStreams = signal<any[]>([]);
  public isJoined = signal<boolean>(false);

  private context!: SkyWayContext;
  private room!: SkyWayRoom;

  async initializeCall(authToken: string, roomName: string) {
    this.context = await SkyWayContext.Create(authToken);

    // Request camera and microphone access
    const { video } = await SkyWayStreamFactory.createMicrophoneAudioAndCameraStream();
    this.localStream.set(video);

    this.room = await SkyWayRoom.FindOrCreate(this.context, {
      type: 'p2p',
      name: roomName,
    });

    const member = await this.room.join();
    this.isJoined.set(true);

    // Reactively update the remote streams array
    this.room.onStreamPublished.add(async (e) => {
      const { stream } = await member.subscribe(e.publication.id);
      this.remoteStreams.update(prev => [...prev, stream]);
    });
  }
}
Consequently, this service acts as the single source of truth for your call state. In addition, it utilizes Angular’s latest reactivity tools to simplify stream management.
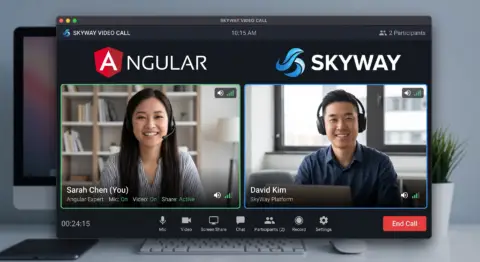
Building the Skyway Angular Video Calling UI
Next, we create the UI component to display our media. Specifically, we use the effect() hook to attach the media stream whenever the signal updates. This is the gold standard for Skyway video calling in version 21.

import { Component, inject, viewChild, ElementRef, effect } from '@angular/core';
import { VideoCallService } from './video-call.service';

@Component({
  selector: 'app-video-room',
  standalone: true,
  template: `
    <div class="video-grid">
      <video #localVideo autoplay playsinline muted></video>
      @for (stream of videoService.remoteStreams(); track stream.id) {
        <video [srcObject]="stream" autoplay playsinline></video>
      }
    </div>
    <button (click)="start()" [disabled]="videoService.isJoined()">Start Call</button>
  `,
  styles: `.video-grid { display: grid; grid-template-columns: 1fr 1fr; gap: 10px; }`
})
export class VideoRoomComponent {
  protected videoService = inject(VideoCallService);
  private localVideoEl = viewChild<ElementRef<HTMLVideoElement>>('localVideo');

  constructor() {
    effect(() => {
      const stream = this.videoService.localStream();
      const videoEl = this.localVideoEl()?.nativeElement;
      if (stream && videoEl) stream.attach(videoEl);
    });
  }

  async start() {
    await this.videoService.initializeCall('YOUR_API_KEY', 'coregamix-demo');
  }
}
Therefore, your component remains clean and declarative. Furthermore, the new @for loop syntax in Angular 21 makes rendering multiple remote participants incredibly efficient.
Performance Tips for Real-Time Apps
To provide the best user experience, you should optimize your video tracks. For instance, always remember to stop the camera track when the user leaves the room. Consequently, this prevents the “camera in use” light from staying on unnecessarily.
In addition, consider implementing a “loading” state signal. This provides immediate visual feedback while the Skyway context initializes. Therefore, your calling app will feel professional and polished.
FAQ
1. Is Skyway better than building a raw WebRTC server? Yes, Skyway handles the complex signaling and NAT traversal for you. This saves weeks of development time and ensures higher connection success rates.
2. Can I use Skyway calling for group chats? Absolutely. You can switch the room type from ‘p2p’ to ‘sfu’ within the service to support many participants simultaneously.
3. Does Angular 21 improve video performance? Yes. By using Signals, the framework avoids checking the entire component tree for changes. This results in smoother video playback and lower CPU usage.
Conclusion
Building a Skyway calling application is a fantastic way to master Angular 21. By combining powerful WebRTC tools with a modern Signals-first architecture, you create a top-tier user experience. Start integrating these steps into your project today and elevate your web development skills!