

State management is the backbone of any large-scale web application, keeping your data predictable and your user experience seamless. If you are building modern applications today, understanding the right NgRx setup Angular 22 approach is absolutely critical to your success. With the advent of standalone APIs, Signals, and a push toward zoneless change detection, the way we configure NgRx has completely changed. Gone are the days of heavy, boilerplate-ridden modules. Instead, we embrace a streamlined, declarative architecture.
Modern Standalone Store Provisioning in Your NgRx Setup Angular 22
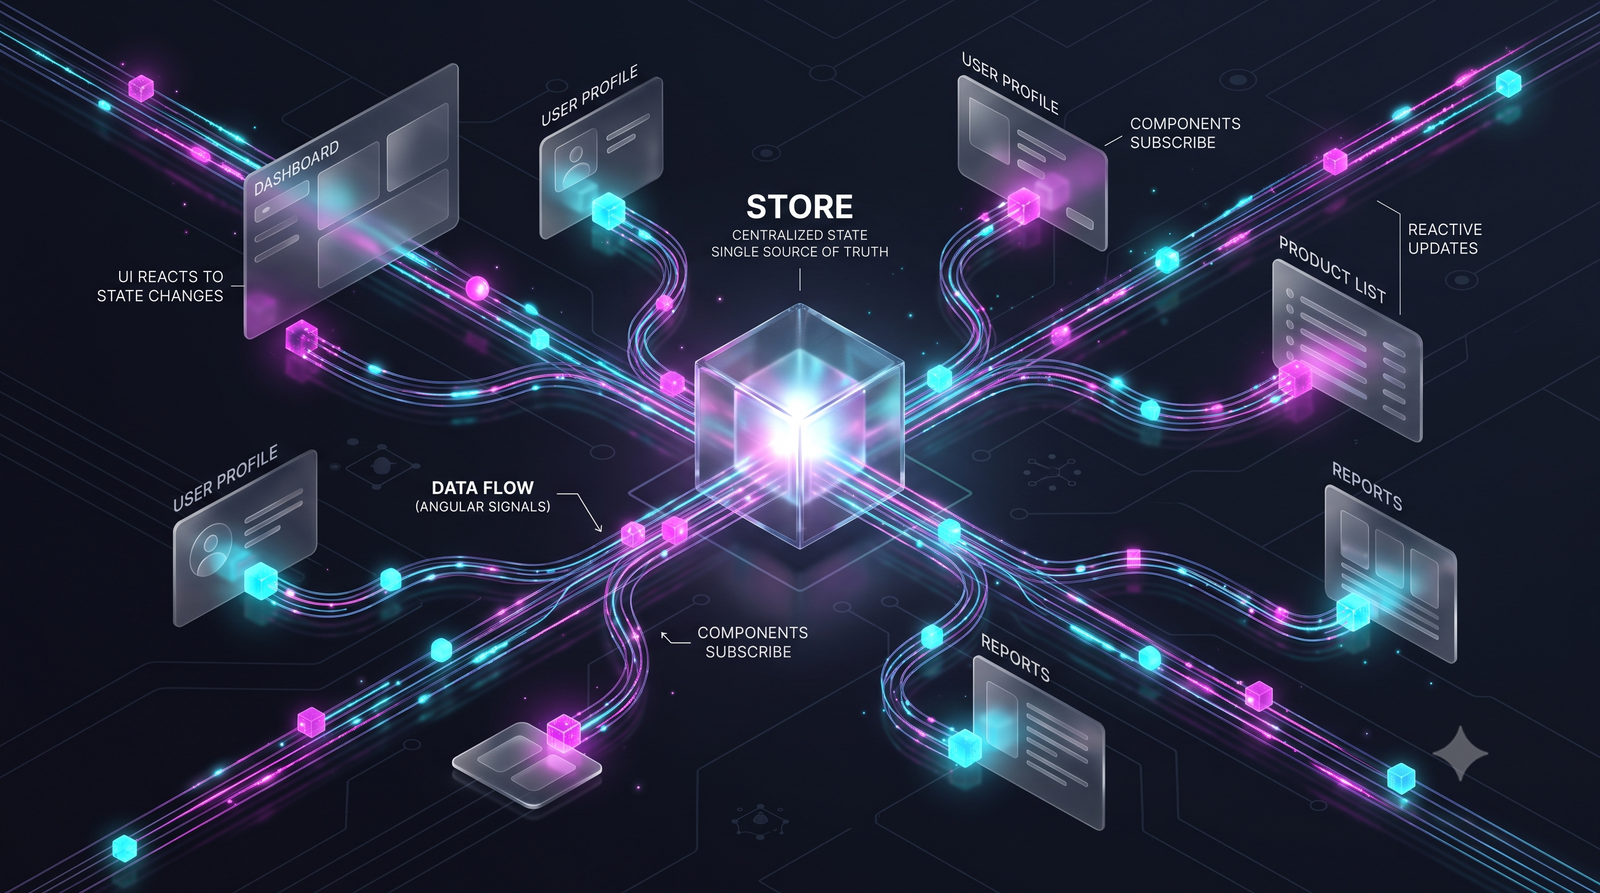
When migrating to the newest standards, the first thing you’ll notice in an NgRx setup Angular 22 application is that we no longer rely on StoreModule.forRoot(). The modern approach leverages provideStore along with makeEnvironmentProviders to inject the state seamlessly into our standalone architecture. This allows us to keep our core provisioning logic clean and modular.
TypeScript
import { EnvironmentProviders, makeEnvironmentProviders, isDevMode } from '@angular/core';
import { provideStore } from '@ngrx/store';
import { provideEffects } from '@ngrx/effects';
import { provideStoreDevtools } from '@ngrx/store-devtools';
import { ROOT_REDUCERS, metaReducers } from '.';

export function provideCoreStore(): EnvironmentProviders {
  return makeEnvironmentProviders([
    provideStore(ROOT_REDUCERS, { metaReducers }),
    provideEffects(),
    isDevMode() ? provideStoreDevtools({ maxAge: 25, logOnly: !isDevMode() }) : []
  ]);
}
Injecting the Store: Core NgRx Setup Angular 22 Configuration
Now that we have created our environment providers, we need to know exactly where provideCoreStore() is actually used. In a proper NgRx setup Angular 22 project, we import and add this function to the providers array inside our app.config.ts file. This is part of the broader shift towards module-less architecture. For a deeper dive into this architectural shift, read our complete guide to Angular 22 Standalone Components.
TypeScript
import { ApplicationConfig } from '@angular/core';
import { provideCoreStore } from './core/store/store.provider';

export const appConfig: ApplicationConfig = {
  providers: [
    provideCoreStore() // Modern, declarative configuration provider
  ]
};
Grouping Actions for Cleaner Code
Moving past the core injection, defining actions concisely is crucial. In any optimized NgRx setup in Angular architecture, using createActionGroup is far superior to writing individual createAction declarations. It reduces boilerplate, automatically namespaces your actions, and creates a much more readable file structure.
TypeScript
import { createActionGroup, emptyProps } from '@ngrx/store';

export const AuthActions = createActionGroup({
  source: 'Auth',
  events: {
    'Auth Auths': emptyProps(),
  },
});
Ditching Manual Selectors: A NgRx Setup Angular 22 Best Practice
Perhaps the most important best practice for a modern NgRx setup in Angular application is adopting createFeature. This single utility function completely transforms how we handle state slices. It auto-generates feature selectors for every property in your state, completely eliminating the need to write and maintain manual .selectors.ts files. If you want to further optimize your app’s performance, check out our advanced Angular state management strategies.
TypeScript
import { createFeature, createReducer, on } from '@ngrx/store';
import { AuthActions } from './auth.actions';

export interface AuthState {
  isUserLoggedIn: boolean
}

const initialState: AuthState = {
  isUserLoggedIn: false
};

export const authReducer = createReducer(
  initialState,
  on(AuthActions.authAuths, (state) => state),
);

// Best Practice: Let createFeature auto-generate your selectors!
export const authFeature = createFeature({
  name: 'auth',
  reducer: authReducer,
});
Querying the Store using Angular Signals
Angular 22 pushes heavily toward a zoneless future, and Signals are at the heart of it. When implementing your NgRx integration at the component level, we want to seamlessly convert store observables into Signals. By utilizing Store.selectSignal alongside the selectors auto-generated by createFeature, we bind state to our templates reactively and synchronously without needing async pipes.
TypeScript
import { Component, inject } from '@angular/core';
import { Store } from '@ngrx/store';
import { authFeature } from '../../core/store/auth/auth.reducer';

@Component({
  selector: 'app-user-profile',
  standalone: true,
  template: `
    @if (isLoggedIn()) {
      <p>Welcome back!</p>
    }
  `
})
export class UserProfileComponent {
  private store = inject(Store);

  // Using the auto-generated selector directly with Signals
  isLoggedIn = this.store.selectSignal(authFeature.selectIsUserLoggedIn);
}
Conclusion
Embracing the modern NgRx paradigm brings massive benefits to your development workflow. By utilizing standalone API setups, relying on createFeature for auto-generated selectors, and consuming state seamlessly via Angular Signals, you drastically reduce boilerplate and future-proof your codebase. Update your configuration today, and enjoy a faster, cleaner, and more reactive Angular experience!
Official NgRx Documentation: https://ngrx.io/guide/store/walkthrough
Connect your Angular Application with Gemini