

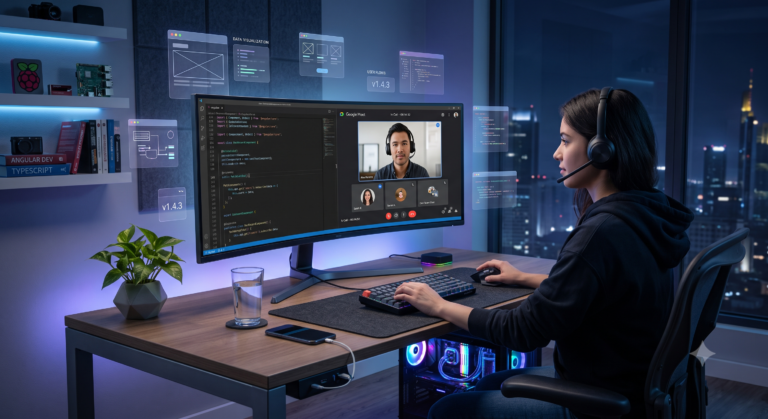
If you are building a modern Single-Page Application (SPA) and need to add real-time video communication, you are in the right place. Knowing how to integrate Skyway calling in Angular 22 gives you a massive advantage when building scalable, high-performance web applications. Skyway offers a powerful SDK for peer-to-peer (P2P) and multiparty video routing, taking the pain out of manual WebRTC signaling..
Pairing SkyWay with Angular is highly effective because Angular’s Signals (signal(), computed(), and effect()) perfectly align with the asynchronous nature of media streams. Instead of battling change detection loops or memory leaks with legacy observables, Signals allow you to declaratively bind live video tracks directly to the DOM.
This guide walks you through a complete, client-side implementation so you can successfully integrate Skyway calling in Angular 22, generating the authentication token right inside your application for a rapid prototyping setup.
Why You Should Integrate Skyway Calling in Angular 22
SkyWay is a real-time communication platform (WebRTC API) that allows developers to easily embed voice, video, and data features into web and mobile applications. It abstracts the heavy lifting of WebRTC signaling, STUN/TURN servers, and media routing.
By handling the logic purely on the client side without relying on Server-Side Rendering (SSR), we can leverage standard browser APIs like navigator.mediaDevices directly inside our Angular components without worrying about server-side environment constraints. When you integrate Skyway calling in Angular 22, you get rapid deployment speed combined with excellent performance.
Step 1: Setup to Integrate Skyway Calling in Angular 22
Before writing any logic, you need to set up the foundation. Ensure your project is ready and install the necessary SkyWay SDK packages.
Run the following command in your terminal to bring in the core SDK, the room management module, and the token generator:
bashnpm install @skyway-sdk/core @skyway-sdk/room @skyway-sdk/token
You will also need an active SkyWay account to obtain your APP_ID and SECRET_KEY. If you don’t have one, you can register on the SkyWay official website.
Important Security Note: Generating the token on the client side exposes your
SECRET_KEYin the browser bundle. This approach is excellent for rapid prototyping, internal tools, or testing. However, for a public production release, token generation should ideally be moved to a backend proxy.
Step 2: Component-Level Token Generation for Skyway Calling
We will build a single Angular standalone component that handles generating the token, acquiring camera permissions, and managing the video streams.
Because Skyway relies on heavy WebRTC logic, we will use Angular’s asynchronous lifecycle hooks to load the SDK dynamically.
Here is how you generate the token and initialize the session entirely on the frontend:
import { Component, effect, viewChild, ElementRef, OnInit, OnDestroy, signal } from '@angular/core';

@Component({
  selector: 'app-video-call',
  template: `
    <div class="video-container">
      <!-- Local Camera -->
      <video #localVideoElement autoplay muted playsinline class="local-cam"></video>

      <!-- Remote Camera -->
      <video #remoteVideoElement autoplay playsinline class="remote-cam"></video>

      <div class="status-bar" *ngIf="statusMessage()">
        {{ statusMessage() }}
      </div>
    </div>
  `,
  standalone: true
})
export class VideoCallComponent implements OnInit, OnDestroy {
  // Hardcoded credentials for rapid client-side prototyping
  private readonly APP_ID = 'YOUR_SKYWAY_APP_ID';
  private readonly SECRET_KEY = 'YOUR_SKYWAY_SECRET_KEY';
  private readonly ROOM_NAME = 'angular-22-demo-room';

  // DOM Elements
  localVideoElement = viewChild<ElementRef<HTMLVideoElement>>('localVideoElement');
  remoteVideoElement = viewChild<ElementRef<HTMLVideoElement>>('remoteVideoElement');

  // Reactive State via Signals
  remoteVideoStream = signal<any | null>(null);
  localVideoStream = signal<any | null>(null);
  statusMessage = signal<string>('Initializing...');

  // SDK References
  private context: any = null;
  private room: any = null;
  private me: any = null;

  constructor() {
    // 1. Bind Local Video to DOM automatically
    effect(() => {
      const el = this.localVideoElement();
      const stream = this.localVideoStream();
      if (el && stream) {
        stream.attach(el.nativeElement);
      }
    });

    // 2. Bind Remote Video to DOM automatically
    effect(() => {
      const el = this.remoteVideoElement();
      const stream = this.remoteVideoStream();
      if (el && stream) {
        stream.attach(el.nativeElement);
      }
    });
  }

  async ngOnInit() {
    try {
      this.statusMessage.set('Generating Token...');
      const token = await this.generateClientToken();
      await this.setupSkywaySession(token);
    } catch (error) {
      console.error('Failed to initialize video call:', error);
      this.statusMessage.set('Error connecting to communication server.');
    }
  }

  // Generate Token directly in the component
  private async generateClientToken(): Promise<string> {
    const { SkyWayAuthToken, uuidV4, nowInSec } = await import('@skyway-sdk/token');

    return new SkyWayAuthToken({
      jti: uuidV4(),
      iat: nowInSec(),
      exp: nowInSec() + 60 * 60 * 24, // 24 hours
      scope: {
        app: {
          id: this.APP_ID,
          turn: true, // Enable TURN servers for strict firewalls
          actions: ['read'],
          channels: [
            {
              id: '*',
              name: '*',
              actions: ['write'],
              members: [
                {
                  id: '*',
                  name: '*',
                  actions: ['write'],
                  publication: { actions: ['write'] },
                  subscription: { actions: ['write'] },
                },
              ],
              sfuBots: [
                {
                  actions: ['write'],
                  forwardings: [{ actions: ['write'] }],
                },
              ],
            },
          ],
        },
      },
    }).encode(this.SECRET_KEY);
  }

  // Setup the media session and room
  private async setupSkywaySession(token: string) {
    this.statusMessage.set('Connecting to Room...');
    const { SkyWayContext, SkyWayStreamFactory } = await import('@skyway-sdk/core');
    const { SkyWayRoom } = await import('@skyway-sdk/room');

    this.context = await SkyWayContext.Create(token);

    this.room = await SkyWayRoom.FindOrCreate(this.context, {
      type: 'p2p',
      name: this.ROOM_NAME,
    });

    this.statusMessage.set('Accessing Camera...');
    const { audio, video } = await SkyWayStreamFactory.createMicrophoneAudioAndCameraStream();

    // Save to Signal to trigger the effect() and bind to DOM
    this.localVideoStream.set(video);

    this.statusMessage.set('Joining Room...');
    this.me = await this.room.join();

    // Publish our local tracks to the room
    await this.me.publish(audio);
    await this.me.publish(video);

    this.statusMessage.set('Waiting for peer to join...');
    this.handleRemoteStreams();
  }
// ... continued below
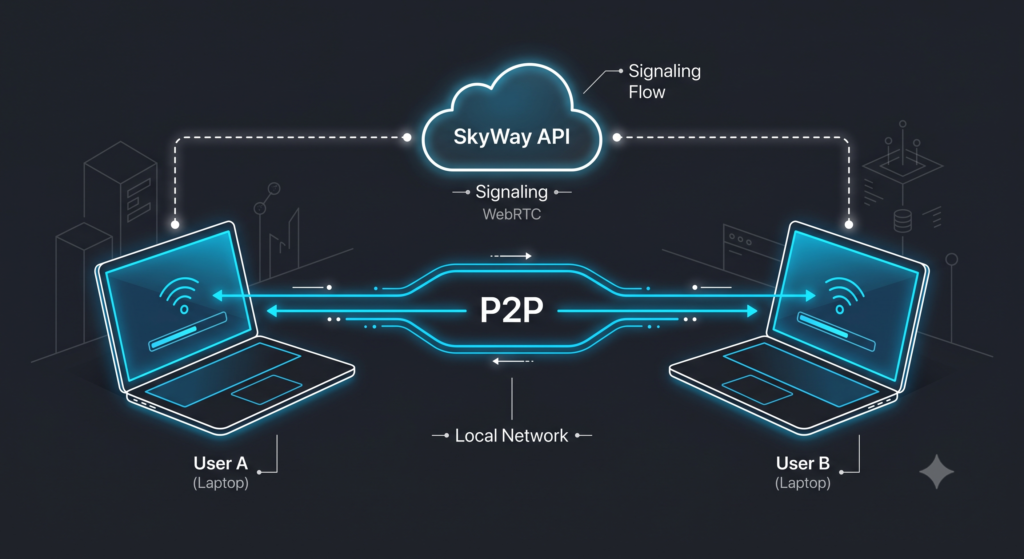
Step 3: Handling Remote Video When You Integrate Skyway Calling in Angular 22
Once the local user has joined the room and published their camera, they need to subscribe to incoming video from the remote peer.
Add the following method to your component class to handle the incoming WebRTC events smoothly:
typescriptprivate handleRemoteStreams() { // 1. Listen for new participants publishing video this.room.onStreamPublished.add(async (e: any) => { // Don't subscribe to our own video if (e.publication.publisher.id !== this.me.id) { const { stream } = await this.me.subscribe(e.publication.id); if (stream.contentType === 'video') { this.remoteVideoStream.set(stream); this.statusMessage.set(''); // Clear status when connected } } }); // 2. Handle remote user leaving this.room.onMemberLeft.add((e: any) => { if (e.member.id !== this.me.id) { this.remoteVideoStream.set(null); this.statusMessage.set('Remote user left the call.'); } }); }
Notice how clean the DOM manipulation is. Thanks to the effect() we set up in the constructor, whenever the remoteVideoStream Signal updates, it instantly binds to the HTML <video> element. No manual document.getElementById or messy change detection triggers are required.
Step 4: Graceful WebRTC Cleanup and Hardware Release
Leaving your webcam on after a user closes a video call is a massive UX failure and a privacy concern. You must release the media hardware when the Angular component is destroyed.
Implement the ngOnDestroy lifecycle hook to ensure everything shuts down cleanly:
  async ngOnDestroy() {
    if (this.me) {
      await this.me.leave();
    }

    // Release hardware resources immediately
    const localVideo = this.localVideoStream();
    if (localVideo) {
      localVideo.release();
    }

    if (this.context) {
      this.context.dispose();
    }

    this.localVideoStream.set(null);
    this.remoteVideoStream.set(null);
  }
}
Moving Forward With Angular WebRTC
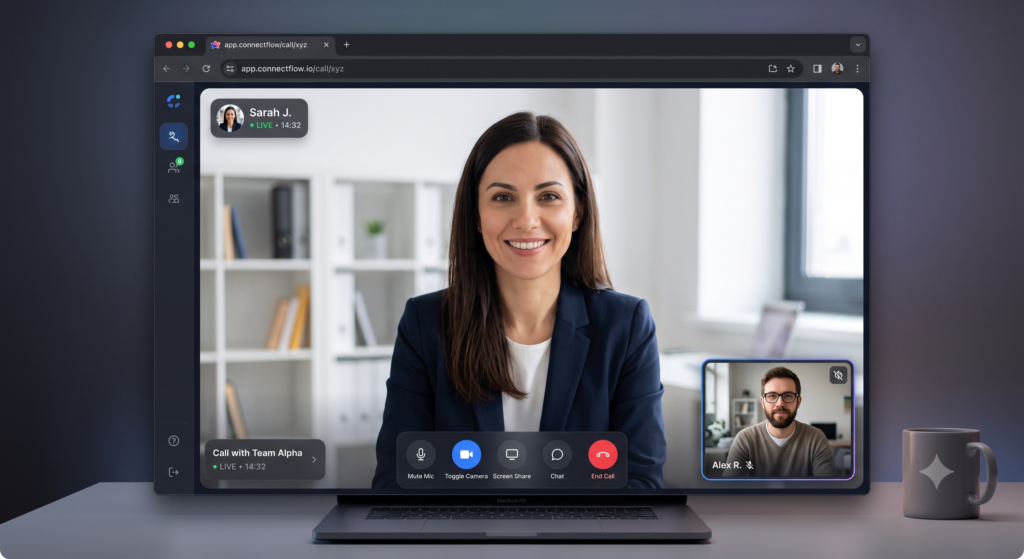
By utilizing the setup above, you eliminate the boilerplate usually associated with WebRTC. Integrating Skyway calling in Angular 22 is significantly streamlined by leveraging Signals for reactive DOM binding. Because we are generating the token and initializing the WebRTC stack entirely on the client-side within the component, you can deploy and test this feature immediately in any static hosting environment without spinning up a Node backend.
Focus on refining the user experience—adding smooth CSS animations, providing clear error messages for denied camera permissions, and managing room states gracefully—and your application will rival top-tier communication tools.
Frequently Asked Questions
Is it difficult to integrate Skyway calling in Angular 22 for group chats?
No, it is very straightforward. While the example above uses a p2p (peer-to-peer) room type ideal for one-on-one calls, SkyWay also supports sfu (Selective Forwarding Unit) rooms. SFU rooms route media through a central server, which is significantly more bandwidth-efficient for group calls with three or more participants. Check out the SkyWay Room API docs for more details.
How do I handle camera permissions being denied?
Wrap your setupSkywaySession media initialization in a try/catch block. If the user denies permission in the browser popup, the SkyWay SDK throws a NotAllowedError. Catch this specific error and display a user-friendly UI prompt instructing them to enable camera permissions in their browser settings.
Why use Angular Signals instead of RxJS Observables for video streams?
According to the official Angular Signals documentation, Signals (signal()) are synchronous, reactive state containers that are perfect for holding references to media objects. They don’t require subscribing or unsubscribing, which inherently prevents memory leaks, and they trigger Angular’s change detection flawlessly when used inside an effect().
Is it safe to generate the Skyway token directly in the component?
For prototyping, local development, or internal tools secured behind a firewall, generating the token in the component is perfectly fine and speeds up development. However, because it requires bundling your secret key into your front-end code, you should move the token generation logic to a backend API server before deploying to a public-facing production environment.
Learn how to design your video calling app visit here

![Zoneless Angular 22 Apps: [Ultimate] Performance Guide](https://coregamix.com/wp-content/uploads/2026/08/Gemini_Generated_Image_sl7y99sl7y99sl7y-scaled.png)